
Field Notes From the Edge
Track five core habits. Reflect each morning and night. Build direction through repetition… not motivation.
A FREE 90-day structure for those who want to show up, not just think about it.
A Quick Note on Links
As an Amazon Associate I earn from qualifying purchases.
This helps me create more class content for you to get inspired by.
Please Note
Outdoor activities involve risk. The information on this site is for general guidance only and should not replace proper training, manufacturer instructions, local laws, or your own judgement. Always use equipment safely and responsibly.
You haven’t truly earned your bushcraft stripes until you’ve been huddled in the woods, soaked to the bone, clutching a soggy featherstick, whispering to your lighter like it’s a sacred relic.
Starting a fire in winter is one thing. Starting one when everything’s damp, your hands are half-frozen, and the wind’s laughing at you? That’s a different beast altogether.
Firecraft is one of the core bushcraft skills every camper should master, especially when the weather turns against you.
Here’s how to tame it.
Quick fire note: Practise the skill where fires are allowed, keep it small, and don’t light open fires in the countryside, on moorland or in dry/windy conditions.
Why Wet-Weather Firestarting Matters
If you’re out in the UK between November and March, odds are good you’ll be contending with:
- Rain (obviously)
- High humidity
- Waterlogged ground
- Damp wood
- Cold hands
In a survival situation, fire isn’t just about warmth or cooking, it’s morale. Fire is confidence, light, and safety wrapped into one.

The Wet Firestarting Mindset
Before we dive into tools and techniques, let’s be real: wet firestarting is a patience game. You won’t light a roaring blaze in 60 seconds. And if you do? You’ve either cheated or earned your place in Valhalla.
You need three things:
- Dry tinder (more on that in a second)
- Consistent ignition source
- Proper fire lay
And maybe a few quiet swear words.

Step 1: The Tinder Situation
Here’s where most people screw it up. You can’t just grab damp leaves and hope they’ll cooperate. You need tinder that’ll catch with minimal heat, even when conditions suck.
If you’re relying on natural tinder, learning how to make proper feather sticks will give you a much better chance in damp conditions.
Your Go-To Options:
1. Cotton pads + Vaseline
Cheap, light, and magic. Keep a film canister or zip bag with a few of these stashed. Even soaked, they’ll usually catch.
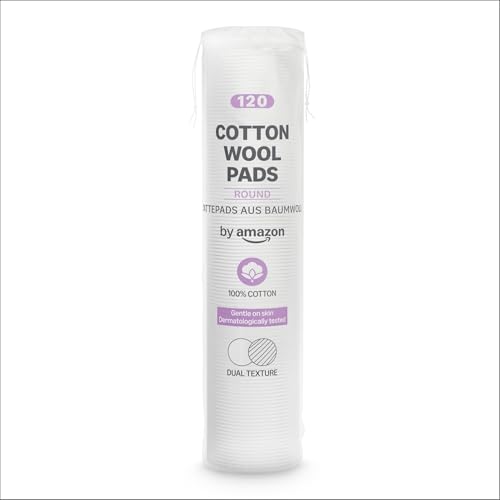
Amazon Cotton Wool Pads

Vaseline Pure Petroleum Jelly 100% Pure Original - 13 Ounces
2. Fatwood
Nature’s firelighter. High resin content means it burns hot and long, even if it’s wet. Look for it in pine stumps or buy pre-cut fatwood sticks like these.
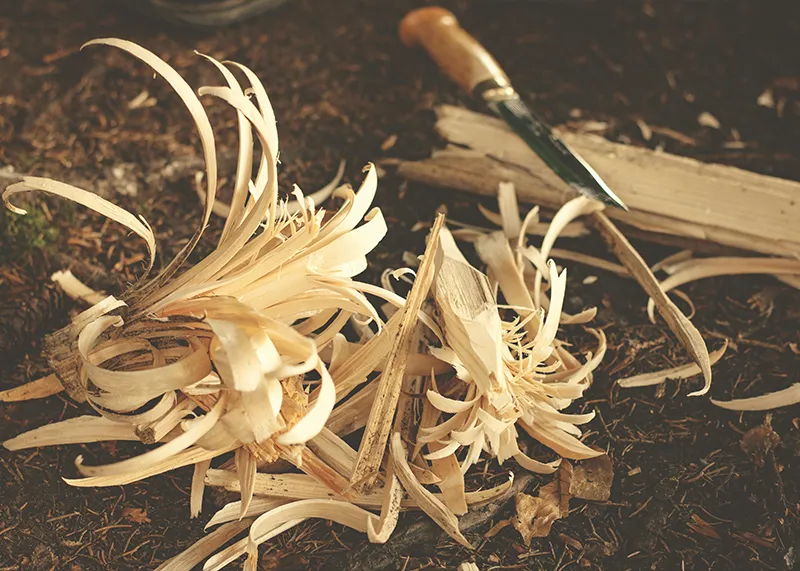
3. Feathersticks (if you have no other option)
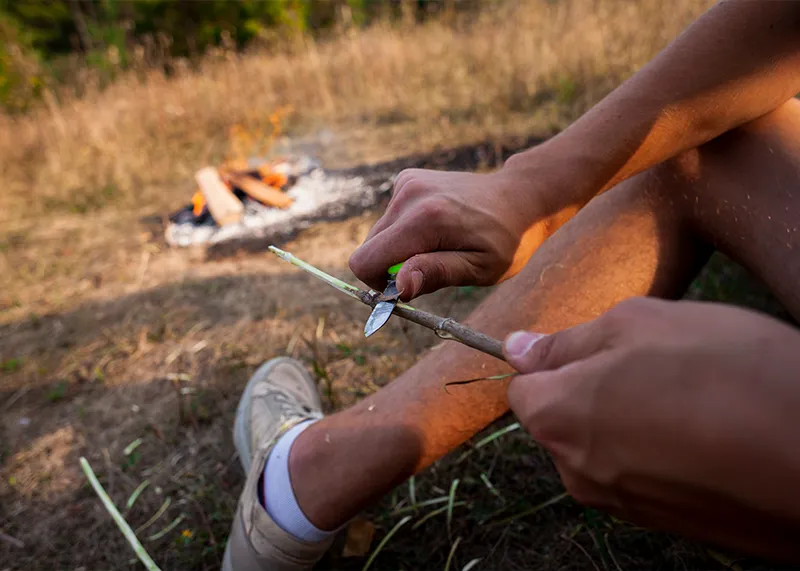
Even if the outside is damp, the inner wood might still be dry. Shave long curls with your knife from the inner heartwood.
If you’ve not mastered feathersticks yet, check out our post: Feather Sticks: The Firestarter Hack You’re Probably Doing Wrong
4. Firelighters (cheat code but reliable)
Great backup. Always worth carrying one.
6x Packs of 40 Zip High Performance Energy Block Firelighters


Step 2: The Ignition Source
If your lighter fails and your ferro rod is rusted, you’re toast. So don’t rely on just one.
A lighter, ferro rod and backup tinder all belong in a pocket-sized survival kit if you spend time outdoors in colder months.
Ideal Combo:
1. Ferro Rod + Striker
Tried, tested, and will throw sparks even if wet.
Try something beefy like the Trekkout Ferro Rod – big enough to hold with gloves.
Survival Flint and Steel Ferro Rod

2. Butane Lighter (with wind resistance)
Always keep a windproof torch lighter tucked in a waterproof bag.
Jet Flame metal Lighter

3. Waterproof Matches (for backup)
Not as reliable in wind, but they’ll do in a pinch. Especially ones like UCO Stormproof Matches.
UCO Hurricane Match Kit

Step 3: Fire Lay That Works
Forget teepee style. In the wet, you’re building up, not out.
The “Upside Down Fire” Lay:
- Start with your biggest logs at the base, forming a dry platform.
- Build smaller fuel layers on top, gradually reducing size.
- Place feathersticks or tinder at the top.
- Light from the top, letting flame work down through dry layers and eventually drying out your base.
Why? Because lighting from the top avoids suffocating the flame with smoke and dampness. Gravity works in your favour.
Where to Find Dry Tinder in the Wild (Even in the Rain)
- Under conifer trees (needle beds, fatwood, dry bark)
- Inside dead standing trees
- In the core of split logs
- Inside your pockets (if you planned ahead)
Stash small tinder in Mint tins, film canisters, or vacuum-sealed bags. Always carry more than you think you’ll need. One is none.
8PCS Tins Containers

Sgehai 30pcs plastic film canisters

Vacbird No-Pump Vacuum Storage Bags

Pro Tip: Build a Bushcraft Fire Kit
Build a waterproof fire kit once and be done with it. Here’s what I keep in mine:
Survival Flint and Steel Ferro Rod
Jet Flame metal Lighter
Amazon Cotton Wool Pads

Magnesium Rod Flint, Waterproof Box, Fatwood Stick Fire Starter
UCO Hurricane Match Kit

Pencil Sharpener

50 Pcs Zip Lock Bags
Keep it inside a drybag. Better to have it and not need it than the other way round.

A Personal Note from the Field
There was one time I camped solo near Snowdonia in February. The kind of rain that feels like it’s coming at you sideways. I’d been out hiking all day, and everything (boots, pack, socks) was soaked.
I needed that fire.
After 30 minutes of prepping feathersticks under my tarp, I struck my ferro rod and… nothing. No spark. Water must’ve seeped into the rod case. Thankfully, I’d stashed a fire lighting tin in my belt pouch. One spark from a backup striker and it caught. Five minutes later, I had flames, dry socks, and a grin that wouldn’t quit.
That fire changed my entire night.
Other Firestarting Resources Worth Checking:
- Tools of the Trade: Building the Ultimate Pocket-Sized Survival Kit
- Five Bushcraft Skills Every Camper Should Master
- EDC Essentials: What Every Outdoorsman Should Carry in 2025
Final Thoughts
Starting a fire in the rain is one of those skills that separates casual campers from serious outdoorsmen. It’s not glamorous. It’s not easy. But when you pull it off?
Winter firecraft is much easier once you’ve built the habit of practising basic bushcraft skills in your own garden first.
That’s when it clicks.
You’ve got the knowledge, the tools, and the mindset. Now get out there and don’t forget to pack that fire kit.
Winter Firecraft FAQs
Can you start a fire with wet wood?
Yes, but you usually need to split or shave the wood to reach the drier inner core. Wet bark and damp outer layers are the problem, so look for standing deadwood, split it open, and build the fire gradually with small, dry material first.
What is the best tinder for wet conditions?
Dry tinder you brought with you is the safest bet. Cotton wool, waxed tinder, fire-starting tabs and dry birch bark can all work well. In winter, don’t rely on finding perfect natural tinder when everything has been soaked for days.
Is a ferro rod better than matches in winter?
A ferro rod is reliable because it works when wet and lasts a long time, but it still needs good tinder. Matches and lighters are easier for beginners, so the best setup is usually redundancy: lighter, ferro rod and dry tinder.
How do you dry wet kindling in the field?
Keep small sticks close to the fire once it’s going, but not so close they smother it or catch before you’re ready. Split thicker sticks to expose the dry centre, and keep your next batch of kindling under cover.
Should I build a fire directly on wet ground?
No, not if you can avoid it. Wet ground steals heat and makes the fire harder to establish. Build a small platform of sticks or bark first, then start your tinder and kindling on top.
Can I light a fire anywhere in the UK countryside?
No. GOV.UK’s Countryside Code says not to light fires and only have barbecues where signs say you can. It’s especially important to avoid fires in dry, windy or high-risk conditions.